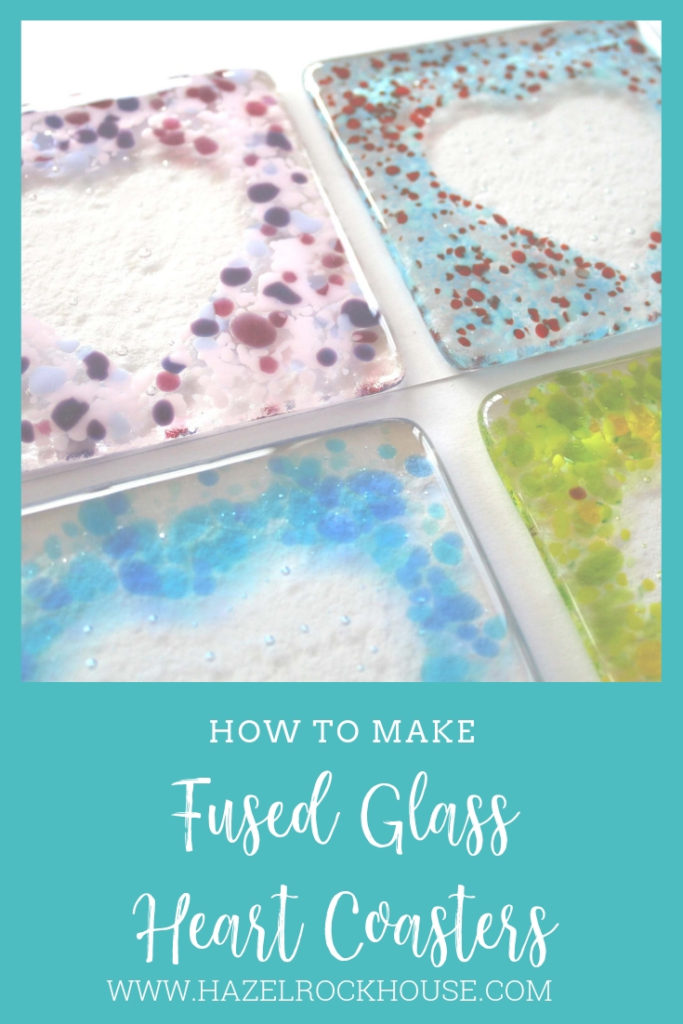
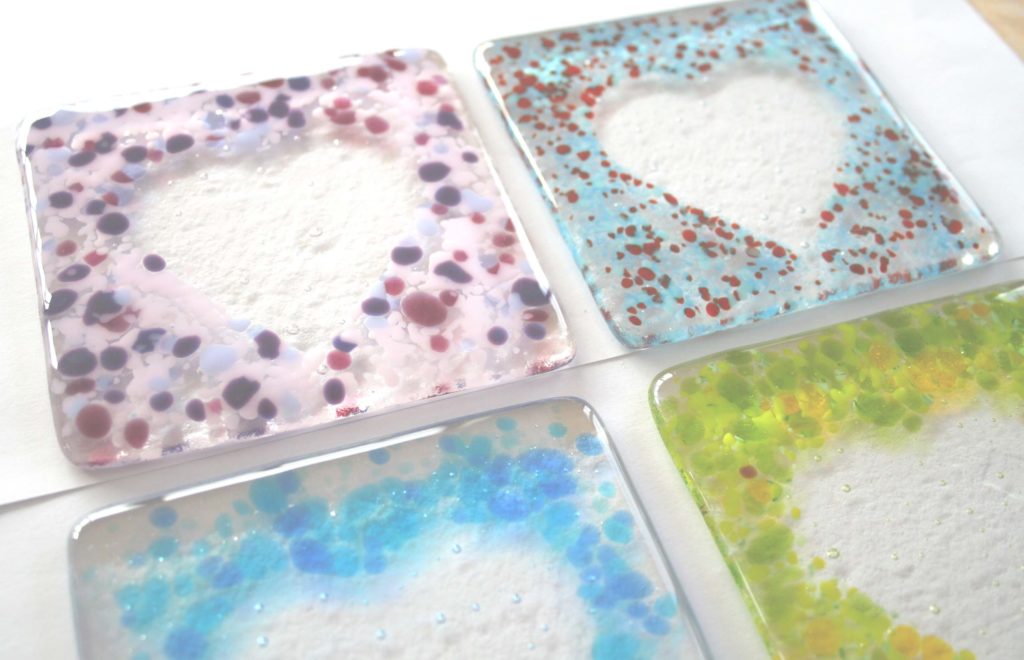
One of my favourite things about fused glass is the combination of colours that you can create in a piece that you make. It is especially easy when working with Frit. These tiny pieces of glass require no cutting and so are fantastic for beginners to work with. I love the frit mixes that you can make, each one unique and personal. You can mix and match any colours you want and it doesn’t matter if it is transparent or opal glass. It’s entirely up to you what you choose to put in.
For this project, you will need
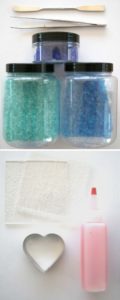
2 10cm x 10cm pieces of Tekta
Frit mix of your choice
A cookie cutter or cardboard template
A spatula or tweezers (something to manipulate the glass frit)
Glastac glue (or your own choice of adhesive)
Rubber coaster feet (you can buy these online or in your hardware store)
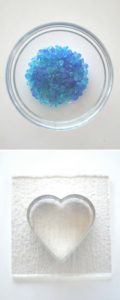
Mix your frit into the desired proportions
Place the cookie cutter or template on top of one of the Tekta sheets.
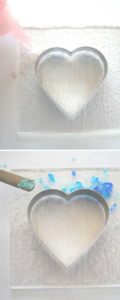
Squirt some glue around the area to be covered by the frit. If you prefer to add the frit and then glue, go ahead.
Use a spatula, soon or any other implement you are comfortable with to place the frit onto the Tekta. You can cover the whole area or do a sunburst effect. Use tweezers to move the frit around until you are happy with it.
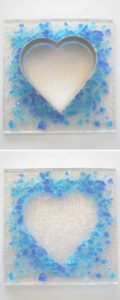
Once all the frit is in place, make sure there are no spaces between the frit and the heart cutter. A line of frit should touch the cutter the whole way around. If it doesn’t you may get a distorted shape.
Gently remove the cookie cutter. Move any pieces of frit that might have been dislodged back into place. Add more glue if you feel you need to.
Add the second piece of glass below the first. This is just to give you the thickness you need for doing a full fuse. If you don’t add a second layer, the edges will draw in and your piece will be distorted.
You will possibly get some air bubbles when fusing two layers of glass together like this. I personally love the air bubbles and it’s not a problem for a piece of work like this. If you want to reduce the bubbles you can sprinkle some powdered clear glass in between then fire using a bubble squeeze schedule.
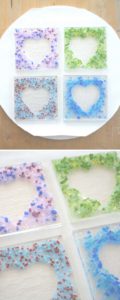
Make them in loads of different colours! Place on thinfire paper or on a kiln washed shelf.
Aren’t they gorgeous?
Put them in the kiln for a full fuse. I used the standard Bullseye protocol for 2 layers of glass
Rate Degrees/hr Temp Set Point Hold-Soak
Segment 1 222°C/hr ( 400°F ) → 677°C (1250°F ) 30 min
Segment 2 333°C/hr ( 600°F ) → 804°C ( 1480°F ) 10 min
Segment 3 999°C/hr ( 999°F ) → 482°C ( 900°F ) 60 min
Segment 4 83°C/hr ( 150°F ) → 371°C ( 700°F ) End
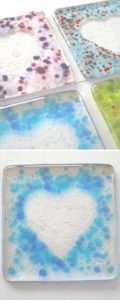
Once they are fired, they need to be carefully washed and dried. The edges are rounded and the colours bright.
You can experiment with many variations on this theme. You could place the frit inside the cookie cutter to make the heart shape coloured. You could use a different shape entirely, or you could make the bottom sheet of glass white or any other colour you like. The possibilities are endless.
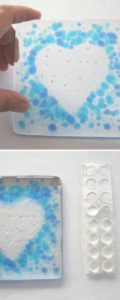
Coasters need to have some feet to prevent the heat of the drink conducting through to the table. The feet also prevent the glass from scratching the table.
These little rubber feet are easy to find at your local hardware store and online and they make the coaster look a little more professional.
They just peel off and you can stick them on the back of the coaster in the corners. Do leave 1cm or so from each edge.
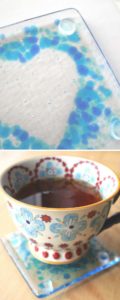
They are lovely to use yourself or as a gift. I’ll definitely be making more of these.
Now, I’m off to enjoy a nice cup of tea!
