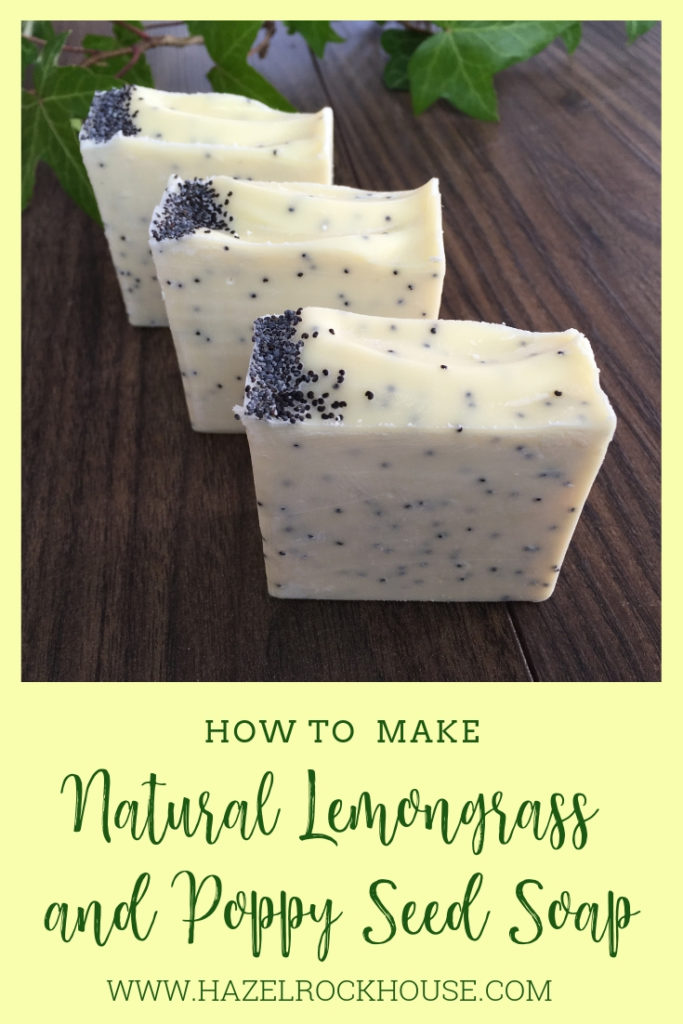
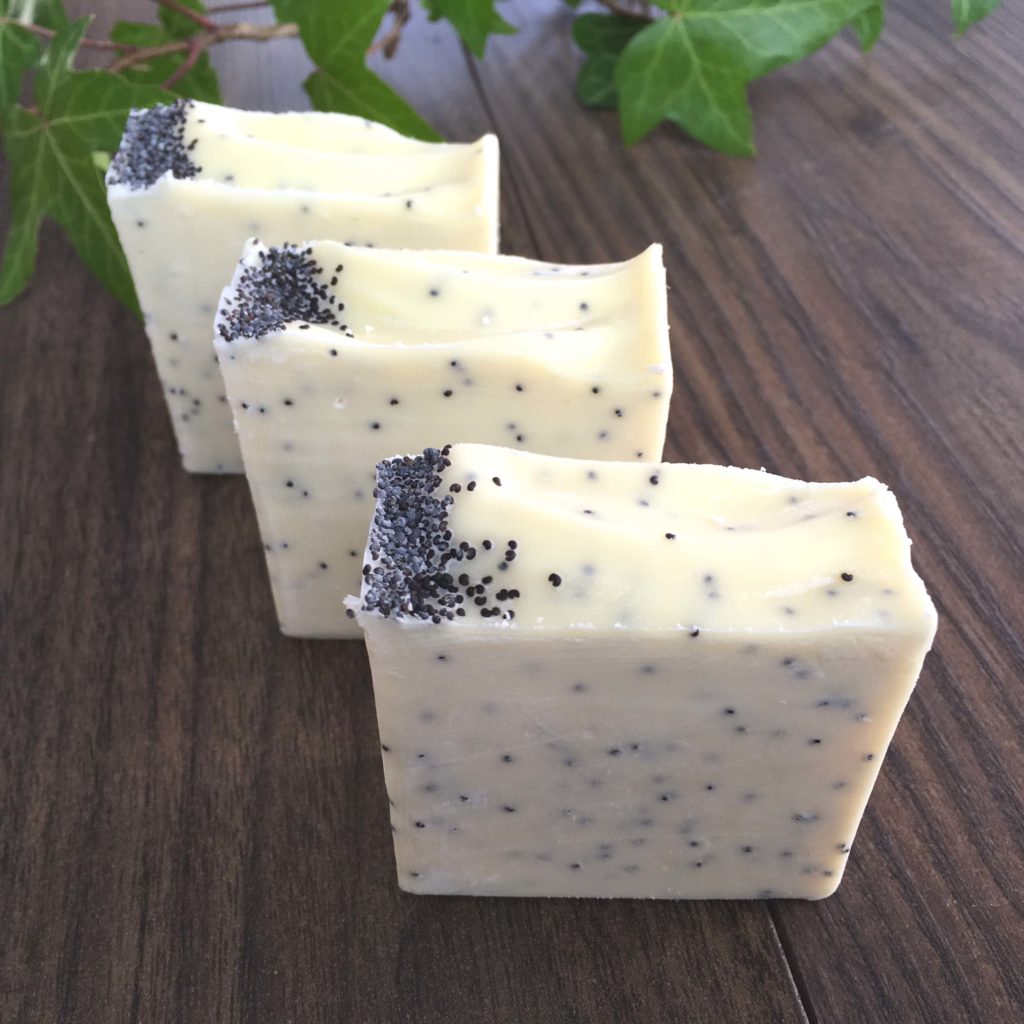
The latest in our series of handmade natural only soap is Lemongrass and Poppy seed soap. I love this one because it is slightly scrubby and helps to gently exfoliate the dead skin cells on the upper surface of your skin. Getting rid of these cells is important because it can help the skin to look and feel brighter and less dry-looking.
As always with our natural recipes we are not using any synthetic colours or fragrances. The natural colour of lemongrass essential oil imparts a light creamy yellow colour to the soap and we don’t want to mess with that. Poppy seeds are great to use because the colour remains the same, even after contact with the alkaline environment of the soap. This isn’t the case for most botanical and even seed additives which normally go brown.
You can check out the video here
The recipe is the normal palm-free one we have been using for all the soap in this series of natural soap so far.
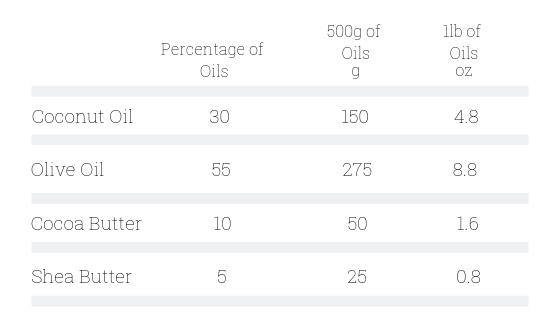
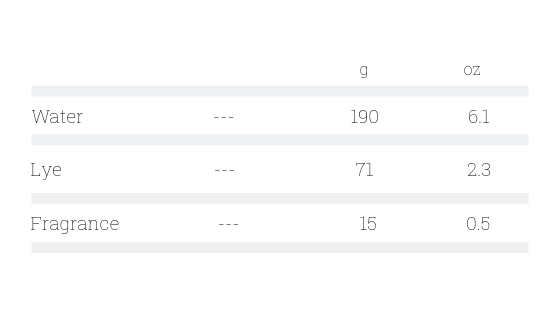
Today our fragrance in Lemongrass which lasts much longer in cold process soap than ordinary lemon essential oil. We also need 1tablspoon of poppy seeds.
You can read a detailed guide to making handmade soap here. It is written especially for beginners and has detailed instructions and photos so you can safely and successfully make your first handmade soap. I would advise you to read it before you attempt this recipe.
Weigh all the hard oils into a large plastic bowl and melt them. A microwave is handy but you can do this in a pot if you prefer. Add the liquid oils and leave to cool.
Make up the lye solution. To get detailed instructions on how to do this, grab my guide to making your first soap here.
Make sure you are wearing your goggles and gloves. Weigh out your lye and then weigh out your water in a separate container. Add the lye to the water and stir for a few minutes. Cover and then leave to cool in a safe place.
Weigh out your fragrance and poppy seeds.
So now you should have a bowl with your cooled oils (around 25-30 degrees celcius) and your container with cooled lye.
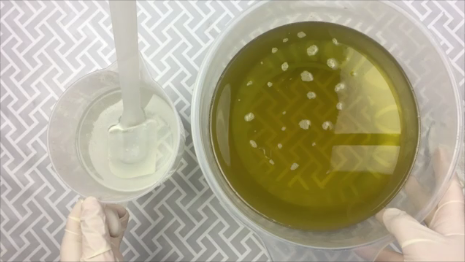
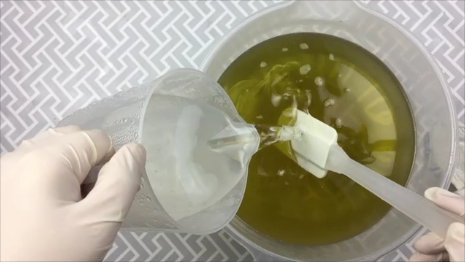
Blend with a stick blender until you reach trace. This is when you can see a faint trace of soap mixture on the surface when you drizzle the soap mix in. you don’t want it to be too thick at this stage as we will be mixing even more in the next stage.
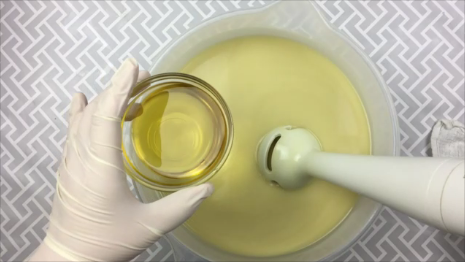
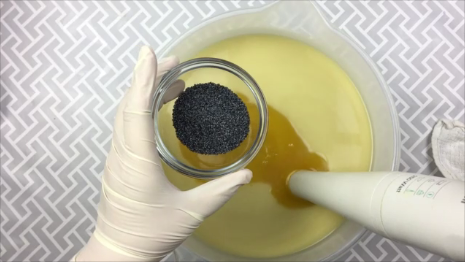
Keep mixing with the blender until the soap is thick enough, then pour into your mould. I’m using a mould with a silicone liner but if you are using a wooden mould, make sure to line it in advance.
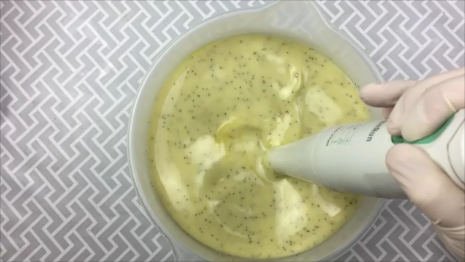
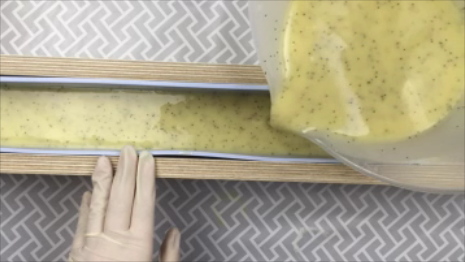
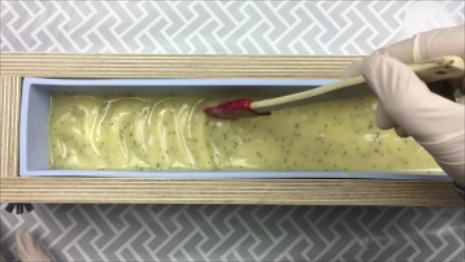
This one seemed to get thinner after I poured it so I had to wait about 10 minutes before I could texture my top (You know I love a bit of texture!)
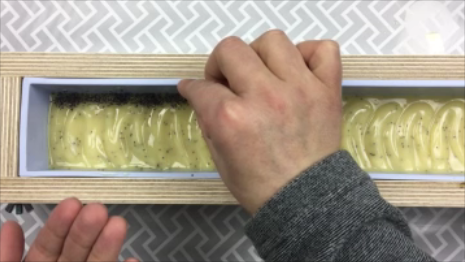
Unfortunately I don’t have a part in the video of me cutting the soap today. A few technical hitches I’m afraid. So here it is, all cut and ready to cure. As usual, you should leave the soap for 4-6 weeks before using.
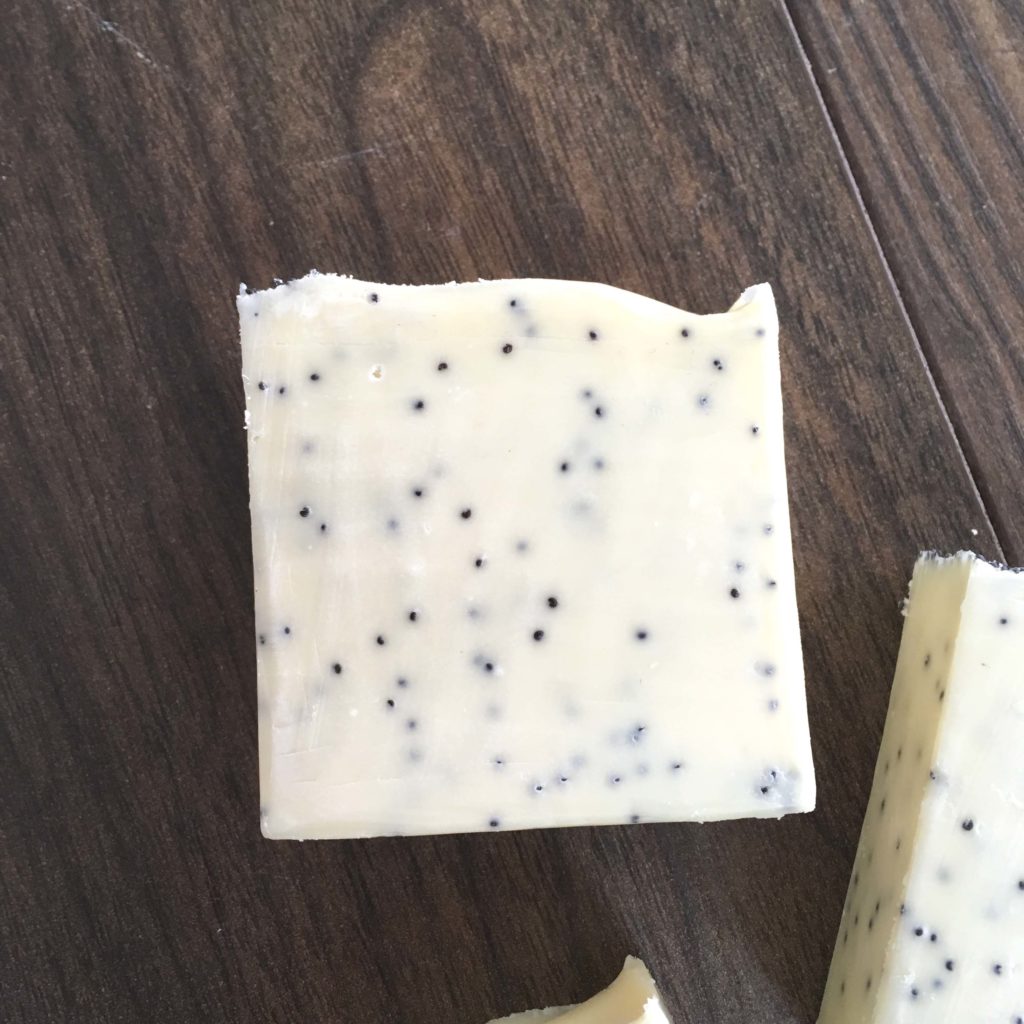
So that’s all from the soaping department this week. Next week we will be stepping it up a gear to have a look at some natural soap colourants. This is a little bit more complicated as there are more steps involved. If you’d like to join our list and get all sorts of tips and goodies in your inbox, please click the picture below or fill in the form in the sidebar.

